How to Germinate Seeds? A Complete Step-by-Step Guide for Beginners
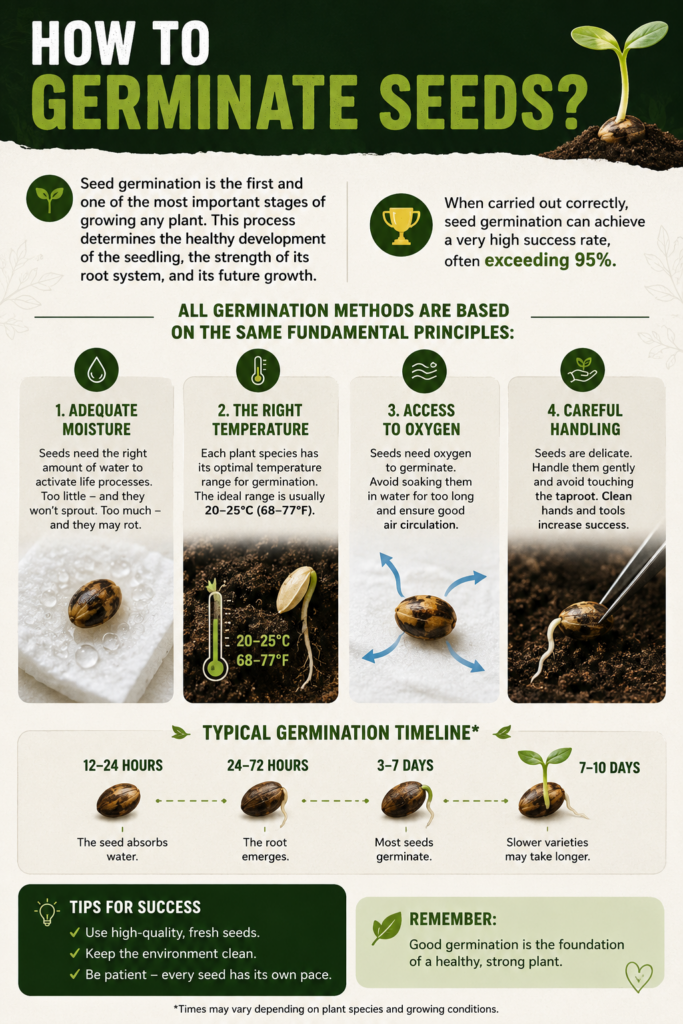
Seed germination is the first and one of the most important stages of growing any plant. This process determines the healthy development of the seedling, the strength of its root system, and its future growth.
When carried out correctly, seed germination can achieve a very high success rate, often exceeding 95%.
Although there are many germination methods, they all rely on the same fundamental principles:
adequate moisture,
the right temperature,
access to oxygen,
careful handling of the seeds.
Table of Contents
What Is Seed Germination?
Why Is Proper Seed Germination So Important?
What Conditions Are Needed for Seed Germination?
The Most Popular Seed Germination Methods
Paper Towel Method – Step-by-Step Guide
Germinating Seeds Directly in the Growing Medium
Germinating Seeds in Peat Pellets and Rockwool Cubes
How Long Does It Take for Seeds to Germinate?
The Most Common Seed Germination Mistakes
What to Do After Germination?
Seed Germination Methods Comparison Table
FAQ
What Is Seed Germination?
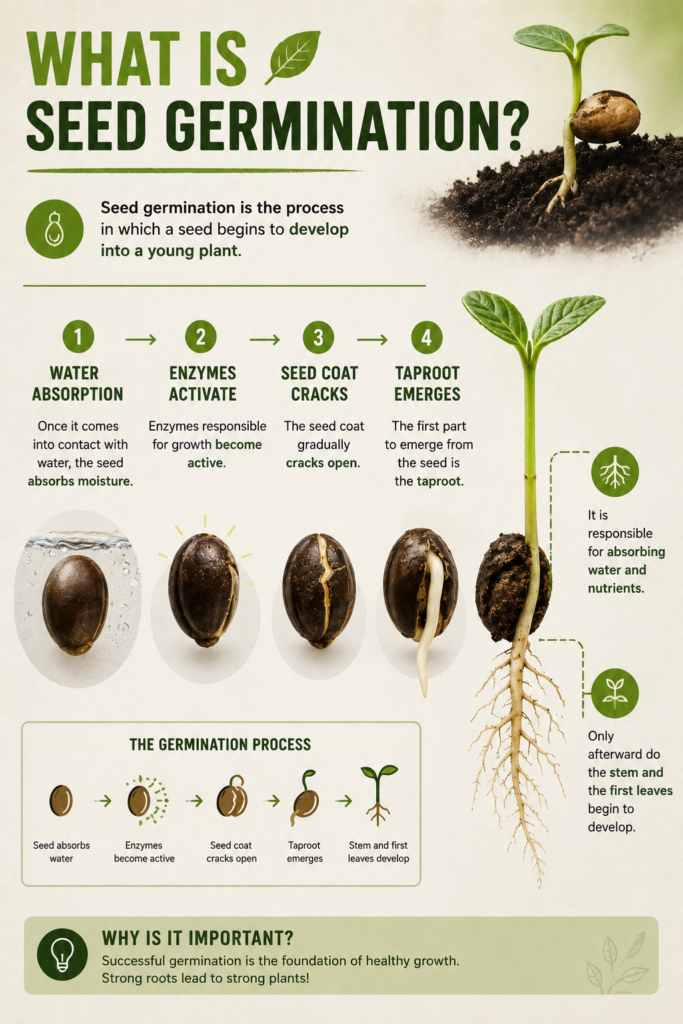
Seed germination is the process in which a seed begins to develop into a young plant.
Once it comes into contact with water, the seed absorbs moisture, enzymes responsible for growth become active, and the seed coat gradually cracks open.
The first part to emerge from the seed is the taproot.
It is responsible for absorbing water and nutrients.
Only afterward do the stem and the first leaves begin to develop.
Why Is Proper Seed Germination So Important?
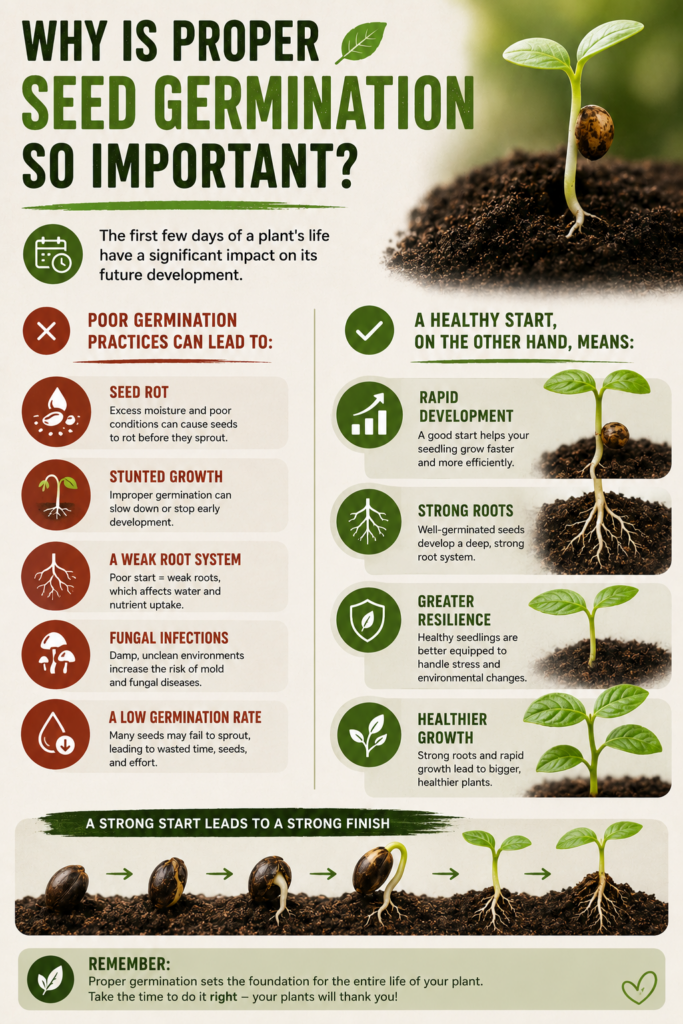
The first few days of a plant’s life have a significant impact on its future development.
Poor germination practices can lead to:
seed rot,
stunted growth,
a weak root system,
fungal infections,
a low germination rate.
A healthy start, on the other hand, means:
✔ rapid development
✔ strong roots
✔ greater resilience
✔ healthier growth
What Conditions Are Needed for Seed Germination?
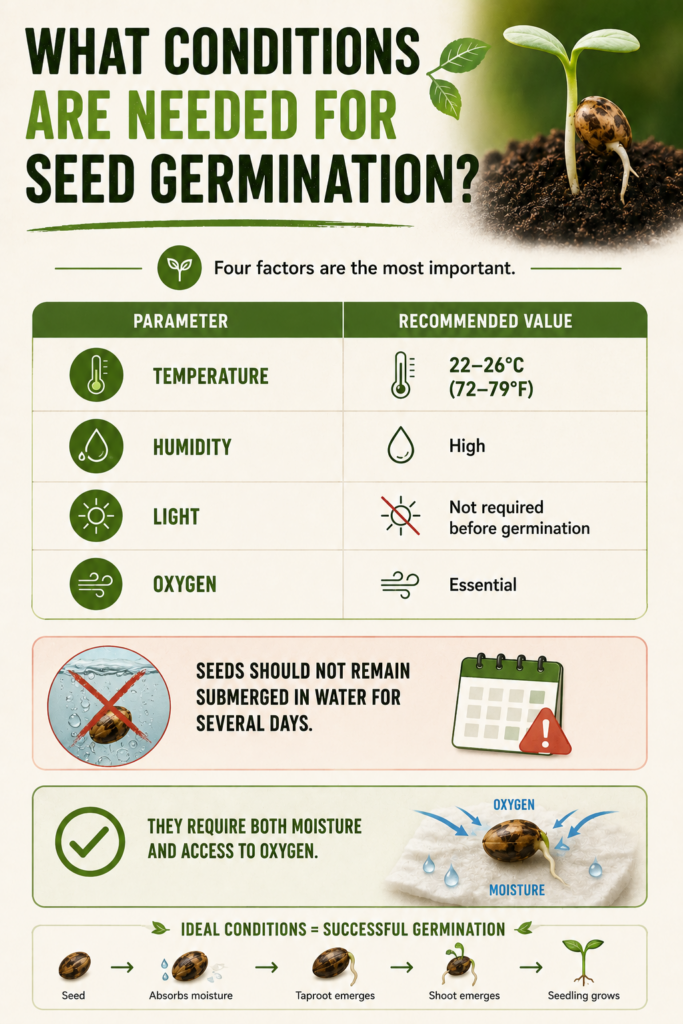
Four factors are the most important.
Parameter
Recommended Value
Temperature
22–26°C (72–79°F)
Humidity
High
Light
Not required before germination
Oxygen
Essential
Seeds should not remain submerged in water for several days.
They require both moisture and access to oxygen.
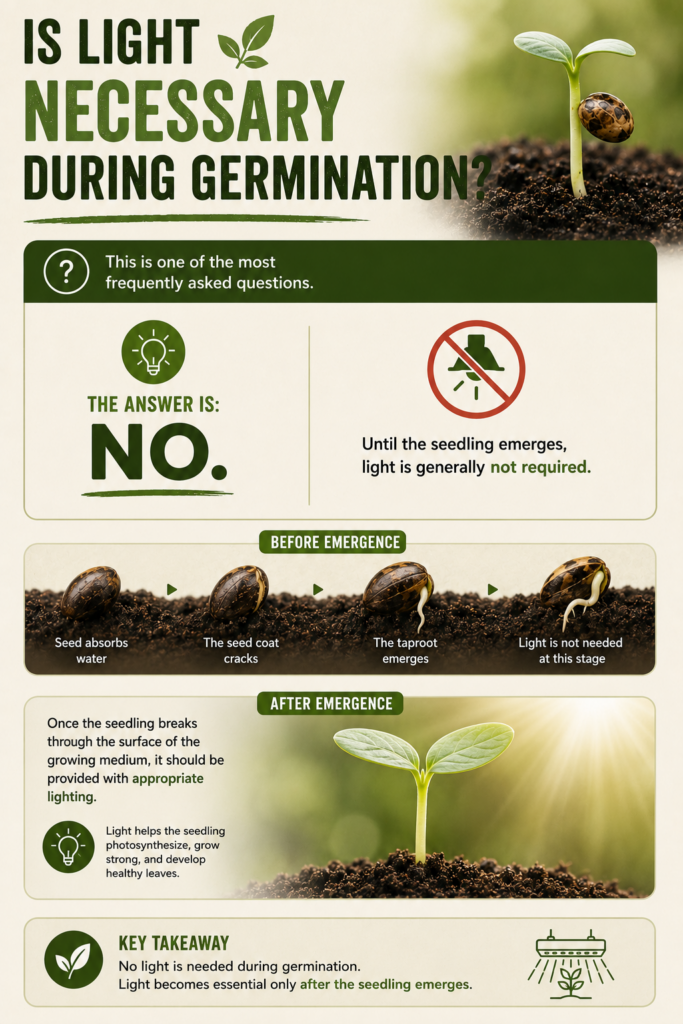
Is Light Necessary During Germination?
This is one of the most frequently asked questions.
The answer is:
No.
Until the seedling emerges, light is generally not required.
Once the seedling breaks through the surface of the growing medium, it should be provided with appropriate lighting.
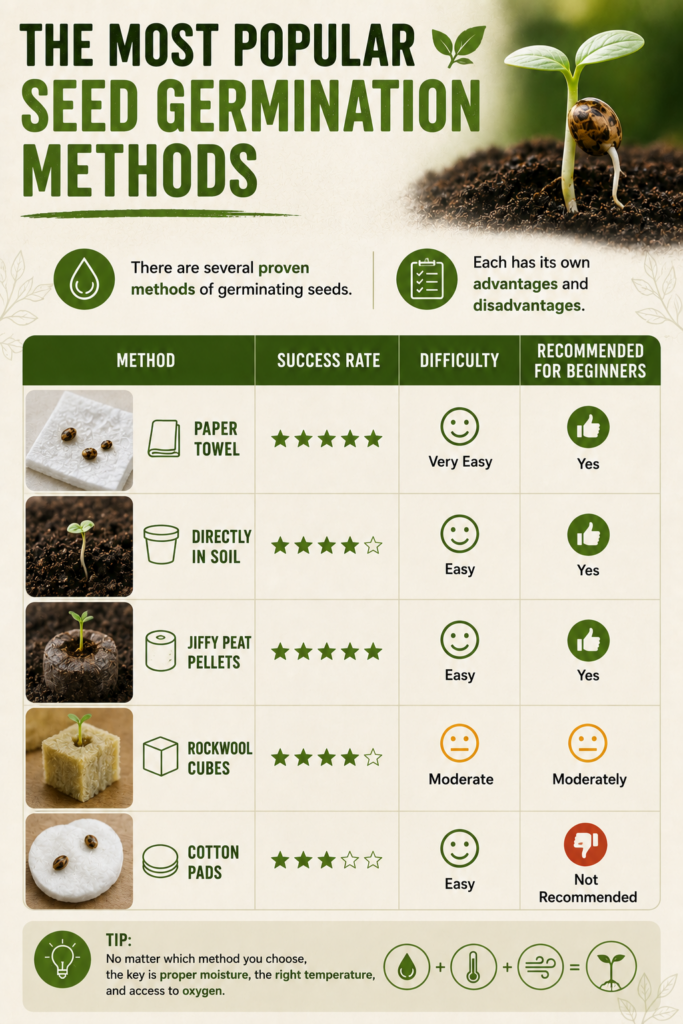
The Most Popular Seed Germination Methods
There are several proven methods of germinating seeds.
Each has its own advantages and disadvantages.
Method
Success Rate
Difficulty
Recommended for Beginners
Paper Towel
⭐⭐⭐⭐⭐
Very Easy
Yes
Directly in Soil
⭐⭐⭐⭐☆
Easy
Yes
Jiffy Peat Pellets
⭐⭐⭐⭐⭐
Easy
Yes
Rockwool Cubes
⭐⭐⭐⭐☆
Moderate
Moderately
Cotton Pads
⭐⭐⭐☆☆
Easy
Not Recommended
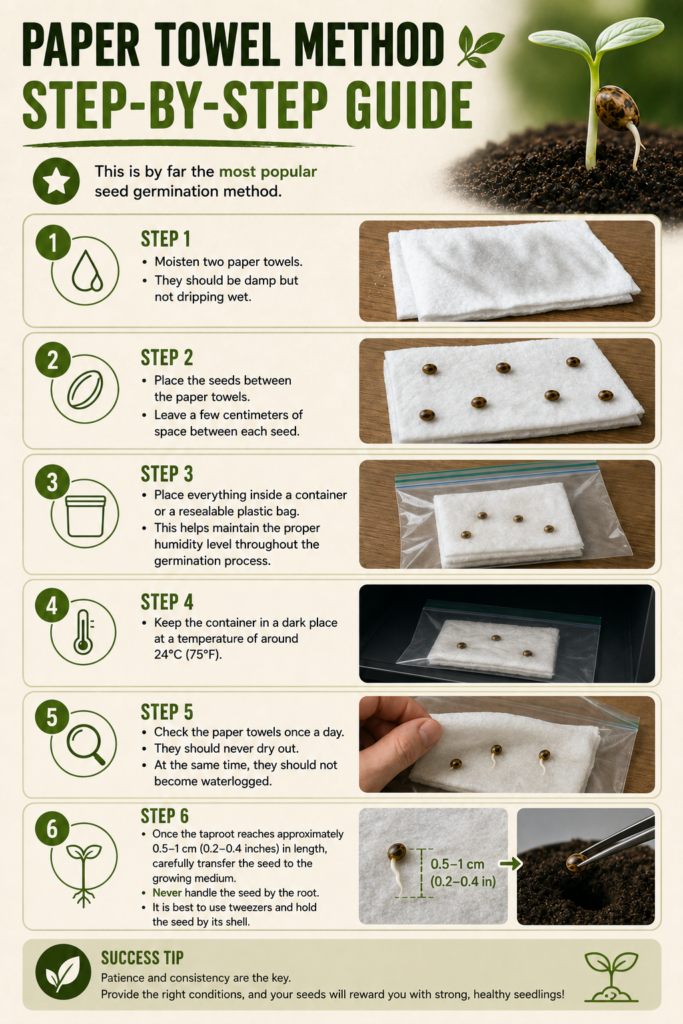
Paper Towel Method – Step-by-Step Guide
This is by far the most popular seed germination method.
Step 1
Moisten two paper towels.
They should be damp but not dripping wet.
Step 2
Place the seeds between the paper towels.
Leave a few centimeters of space between each seed.
Step 3
Place everything inside a container or a resealable plastic bag.
This helps maintain the proper humidity level throughout the germination process.
Step 4
Keep the container in a dark place at a temperature of around 24°C (75°F).
Step 5
Check the paper towels once a day.
They should never dry out.
At the same time, they should not become waterlogged.
Step 6
Once the taproot reaches approximately 0.5–1 cm (0.2–0.4 inches) in length, carefully transfer the seed to the growing medium.
Never handle the seed by the root.
It is best to use tweezers and hold the seed by its shell.
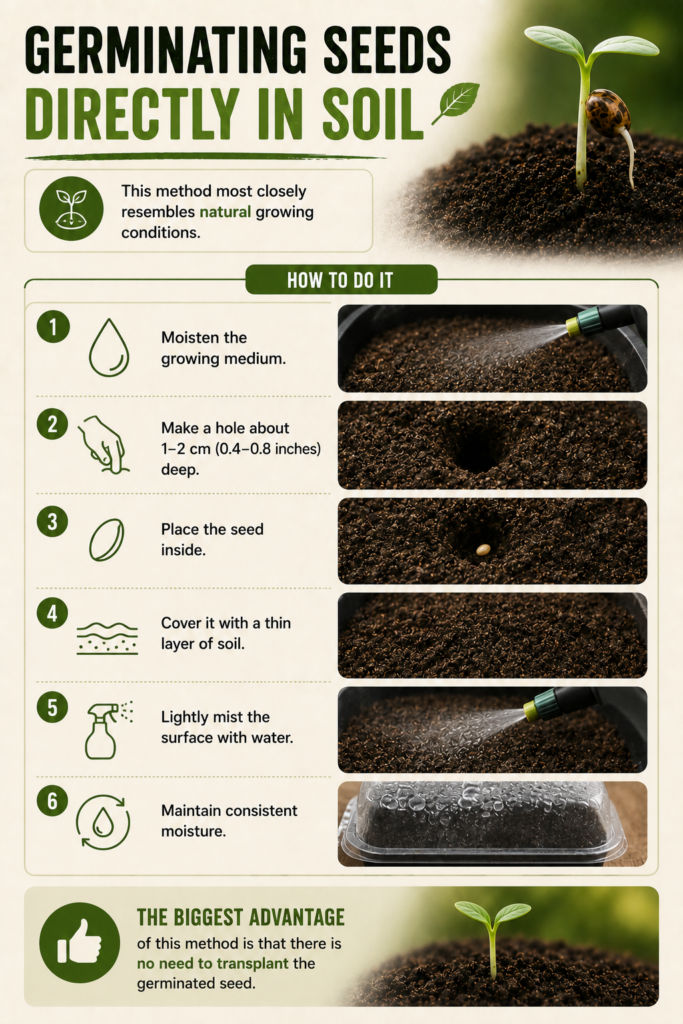
Germinating Seeds Directly in Soil
This method most closely resembles natural growing conditions.
How to Do It
Moisten the growing medium.
Make a hole about 1–2 cm (0.4–0.8 inches) deep.
Place the seed inside.
Cover it with a thin layer of soil.
Lightly mist the surface with water.
Maintain consistent moisture.
The biggest advantage of this method is that there is no need to transplant the germinated seed.
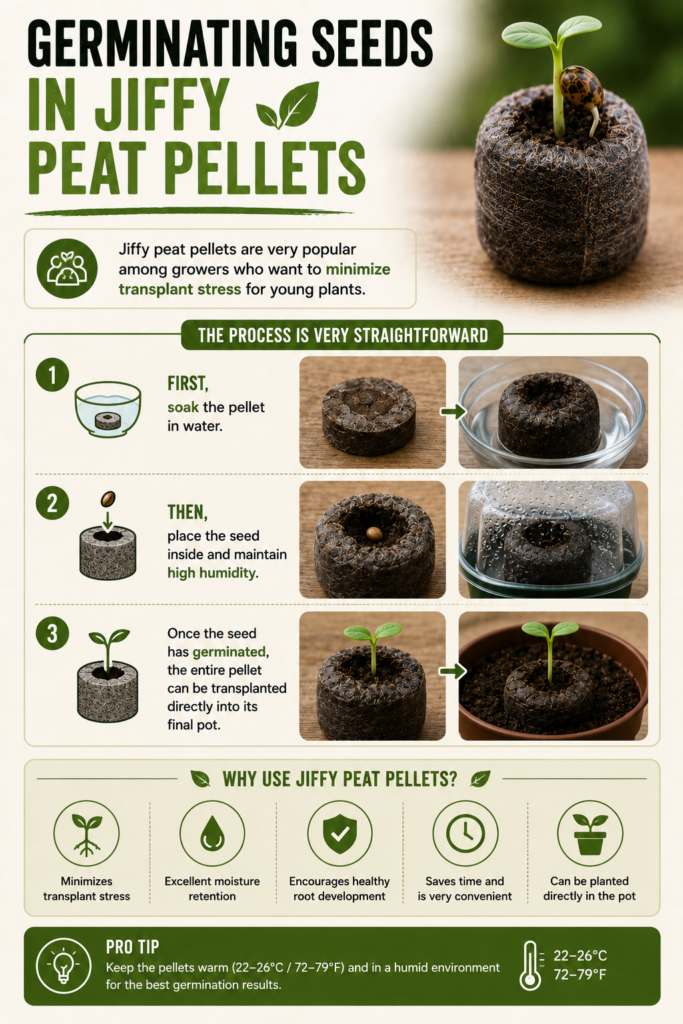
Germinating Seeds in Jiffy Peat Pellets
Jiffy peat pellets are very popular among growers who want to minimize transplant stress for young plants.
The process is very straightforward.
First, soak the pellet in water.
Then place the seed inside and maintain high humidity.
Once the seed has germinated, the entire pellet can be transplanted directly into its final pot.
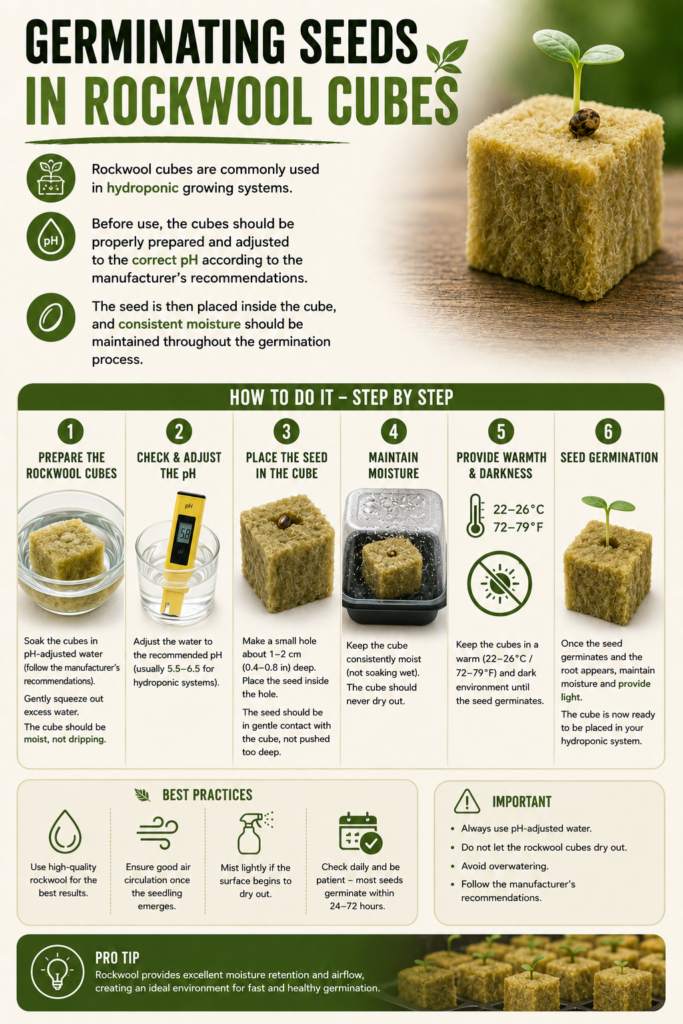
Germinating Seeds in Rockwool Cubes
Rockwool cubes are commonly used in hydroponic growing systems.
Before use, the cubes should be properly prepared and adjusted to the correct pH according to the manufacturer’s recommendations.
The seed is then placed inside the cube, and consistent moisture should be maintained throughout the germination process.
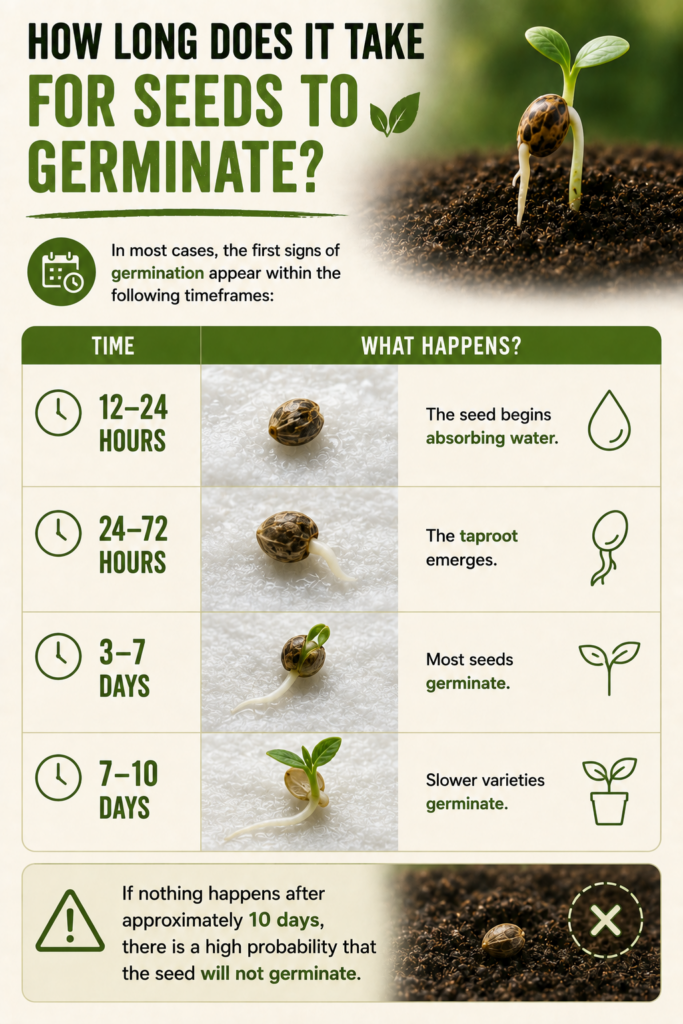
How Long Does It Take for Seeds to Germinate?
In most cases, the first signs of germination appear within the following timeframes:
Time
What Happens?
12–24 hours
The seed begins absorbing water
24–72 hours
The taproot emerges
3–7 days
Most seeds germinate
7–10 days
Slower varieties germinate
If nothing happens after approximately 10 days, there is a high probability that the seed will not germinate.
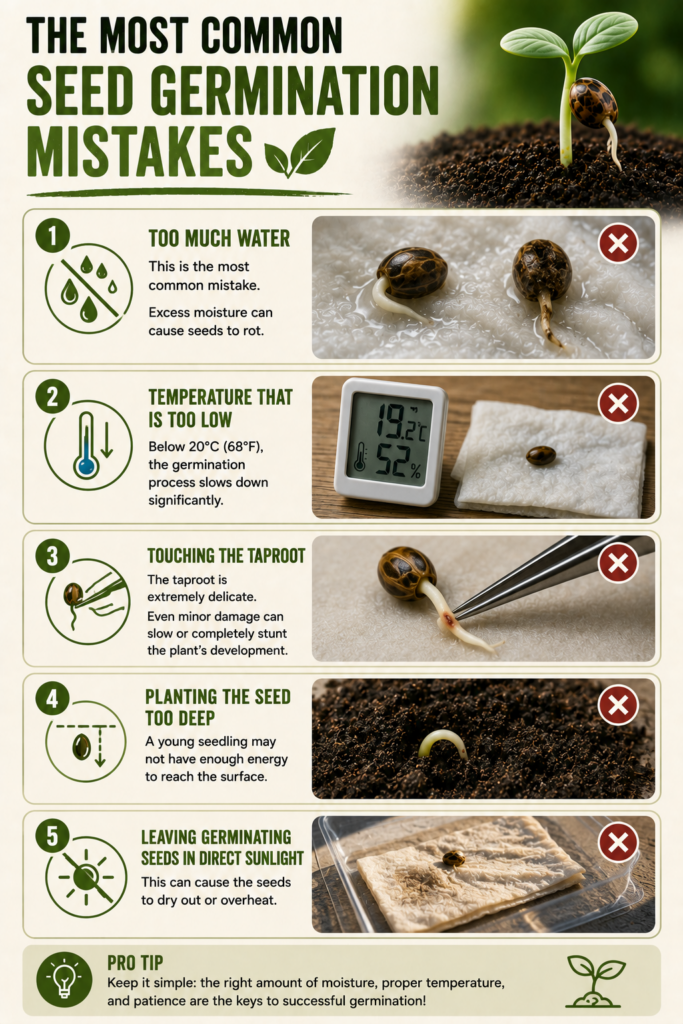
The Most Common Seed Germination Mistakes
Too Much Water
This is the most common mistake.
Excess moisture can cause seeds to rot.
Temperature That Is Too Low
Below 20°C (68°F), the germination process slows down significantly.
Touching the Taproot
The taproot is extremely delicate.
Even minor damage can slow or completely stunt the plant’s development.
Planting the Seed Too Deep
A young seedling may not have enough energy to reach the surface.
Leaving Germinating Seeds in Direct Sunlight
This can cause the seeds to dry out or overheat.
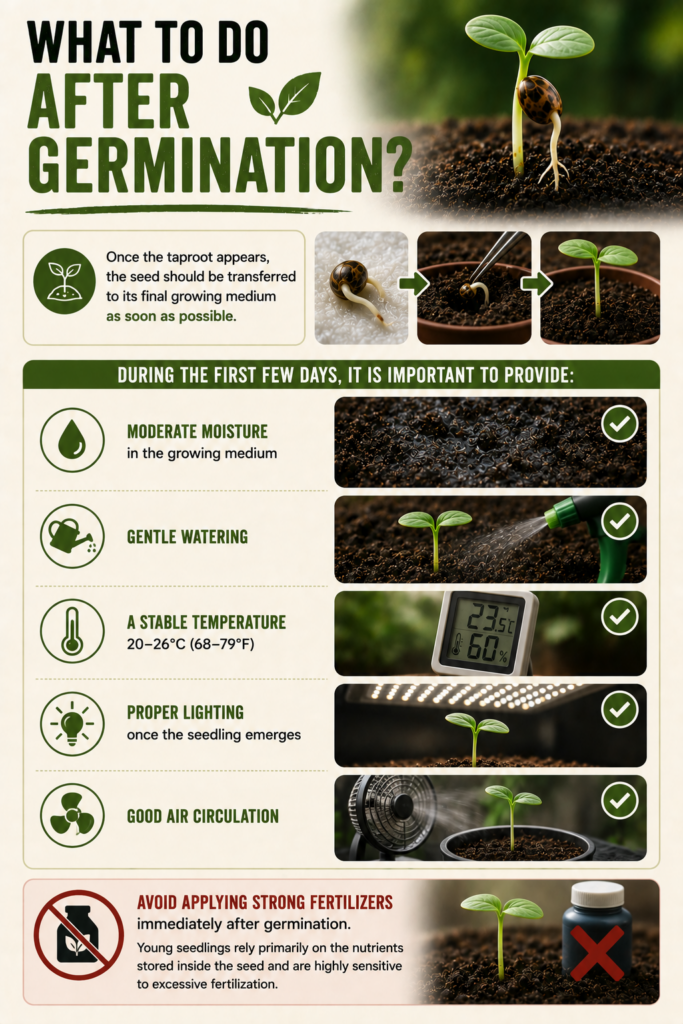
What to Do After Germination?
Once the taproot appears, the seed should be transferred to its final growing medium as soon as possible.
During the first few days, it is important to provide:
moderate moisture in the growing medium,
gentle watering,
a stable temperature,
proper lighting once the seedling emerges,
good air circulation.
Avoid applying strong fertilizers immediately after germination. Young seedlings rely primarily on the nutrients stored inside the seed and are highly sensitive to excessive fertilization.
My Experience with Seed Germination
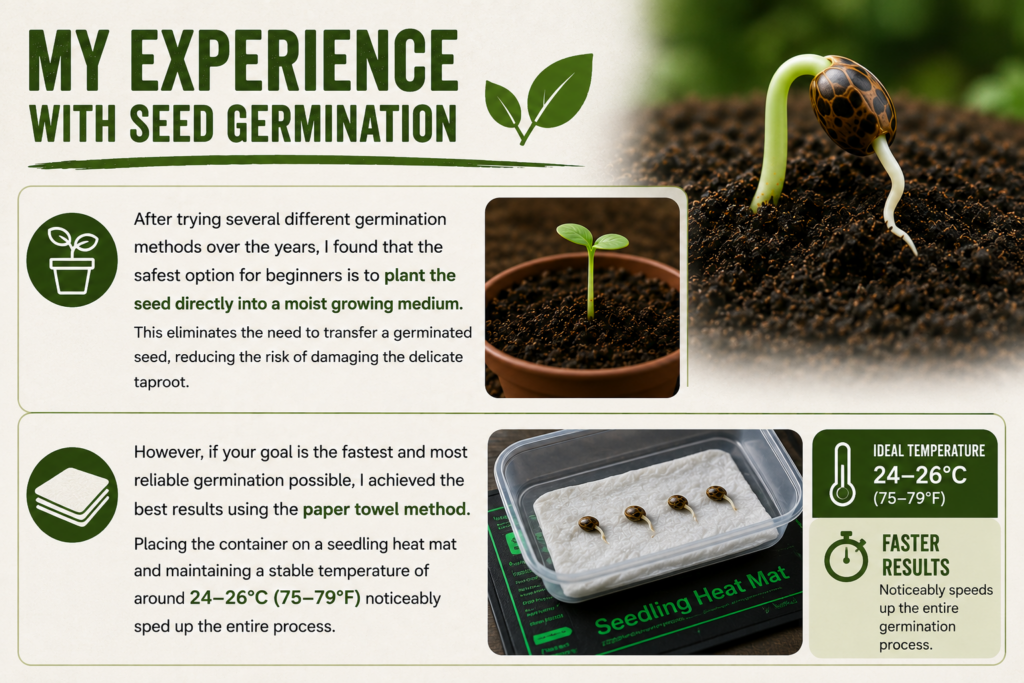
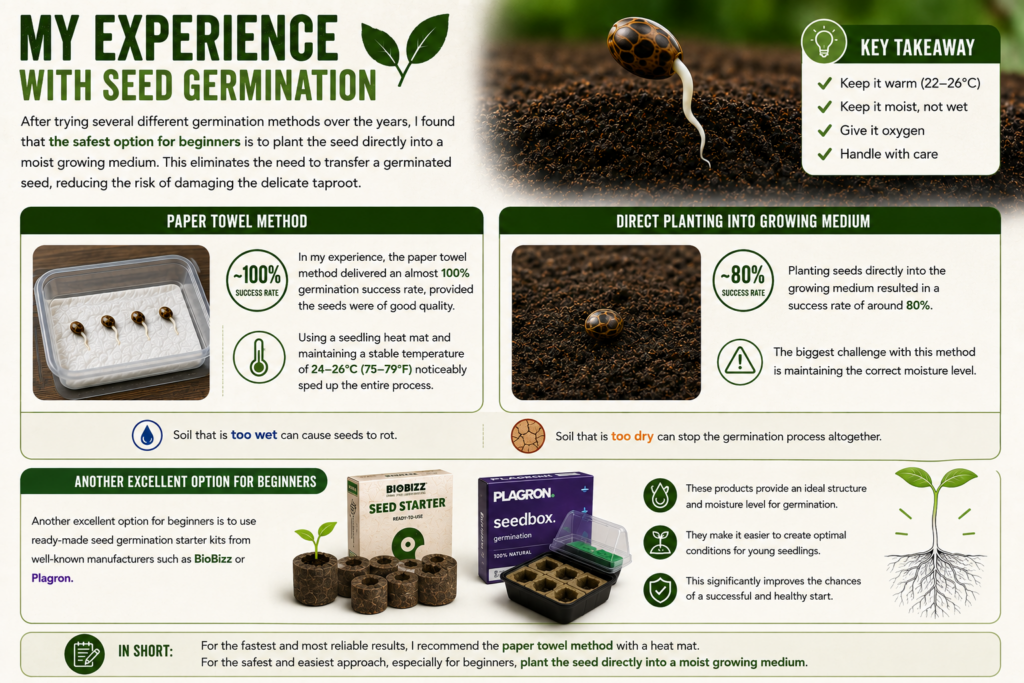
After trying several different germination methods over the years, I found that the safest option for beginners is to plant the seed directly into a moist growing medium. This eliminates the need to transfer a germinated seed, reducing the risk of damaging the delicate taproot.
However, if your goal is the fastest and most reliable germination possible, I achieved the best results using the paper towel method. Placing the container on a seedling heat mat and maintaining a stable temperature of around 24–26°C (75–79°F) noticeably sped up the entire process.
In my experience, the paper towel method delivered an almost 100% germination success rate, provided the seeds were of good quality. Planting seeds directly into the growing medium resulted in a success rate of around 80%. The biggest challenge with this method is maintaining the correct moisture level. Soil that is too wet can cause seeds to rot, while soil that is too dry can stop the germination process altogether.
Another excellent option for beginners is to use ready-made seed germination starter kits from well-known manufacturers such as BioBizz or Plagron. These products provide an ideal structure and moisture level for germination, making it easier to create optimal conditions for young seedlings and improving the chances of a successful start.
My Advice
If you’re just getting started, choose the method you feel most comfortable with. If you can consistently monitor moisture and temperature, the paper towel method combined with a heat mat allows you to quickly see whether a seed is germinating properly. If your priority is protecting the delicate taproot, planting the seed directly into the growing medium is the simpler and less invasive approach.
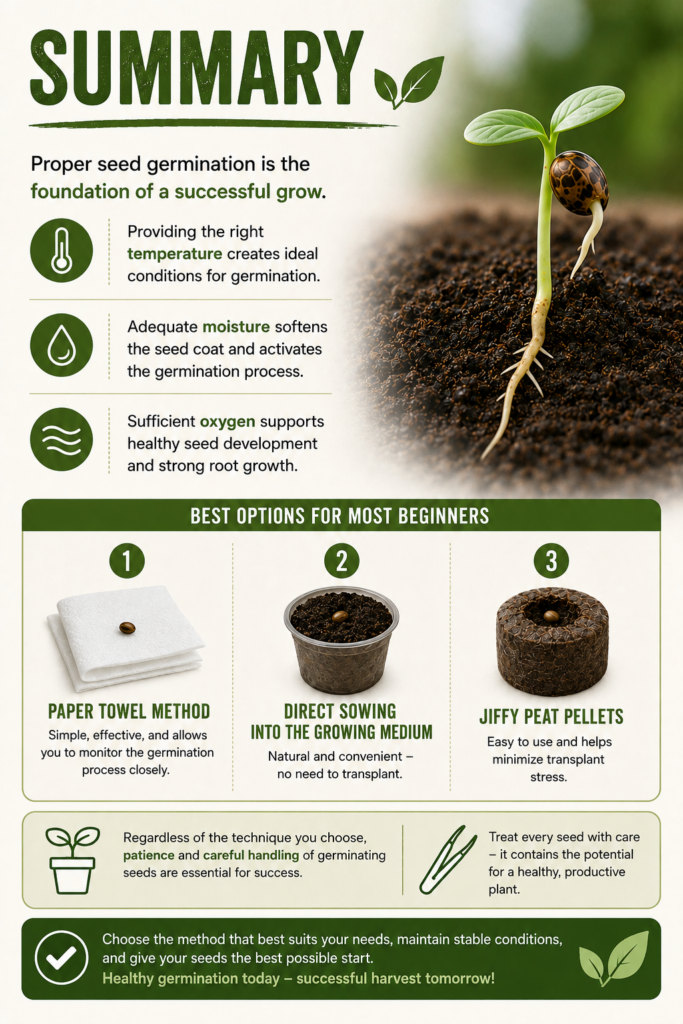
Summary
Proper seed germination is the foundation of a successful grow. Providing the right temperature, adequate moisture, and sufficient oxygen significantly increases the chances of producing healthy seedlings. For most beginners, the paper towel method, direct sowing into the growing medium, or Jiffy peat pellets are the best options. Regardless of the technique you choose, patience and careful handling of germinating seeds are essential for success.
FAQ – Frequently Asked Questions
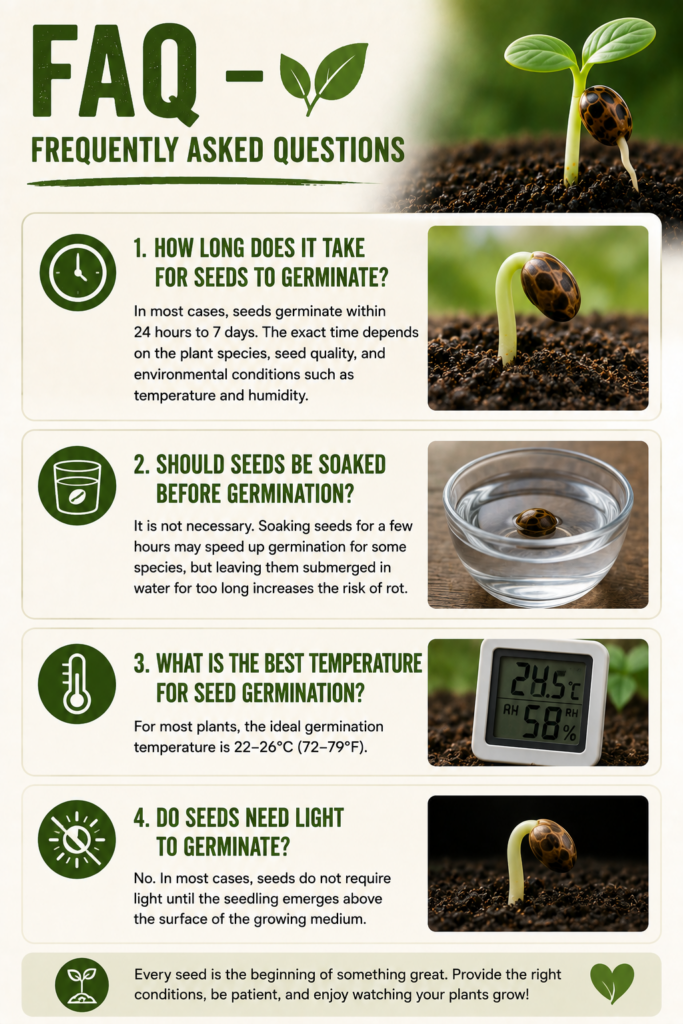
How long does it take for seeds to germinate?
In most cases, seeds germinate within 24 hours to 7 days. The exact time depends on the plant species, seed quality, and environmental conditions such as temperature and humidity.
Should seeds be soaked before germination?
It is not necessary. Soaking seeds for a few hours may speed up germination for some species, but leaving them submerged in water for too long increases the risk of rot.
What is the best temperature for seed germination?
For most plants, the ideal germination temperature is 22–26°C (72–79°F).
Do seeds need light to germinate?
No. In most cases, seeds do not require light until the seedling emerges above the surface of the growing medium.
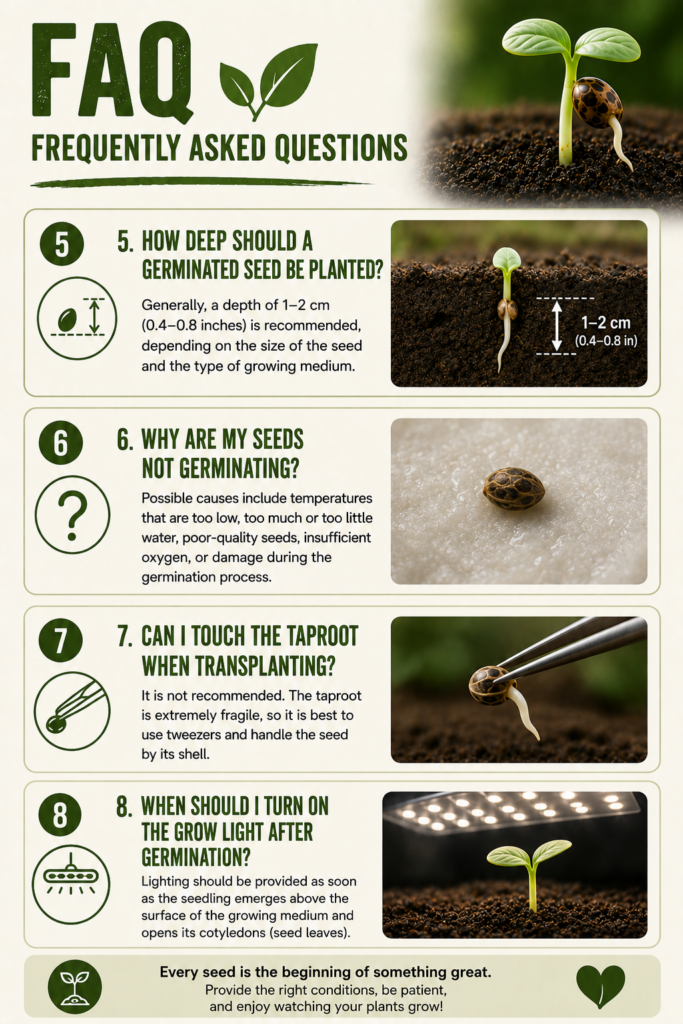
How deep should a germinated seed be planted?
Generally, a depth of 1–2 cm (0.4–0.8 inches) is recommended, depending on the size of the seed and the type of growing medium.
Why are my seeds not germinating?
Possible causes include temperatures that are too low, too much or too little water, poor-quality seeds, insufficient oxygen, or damage during the germination process.
Can I touch the taproot when transplanting?
It is not recommended. The taproot is extremely fragile, so it is best to use tweezers and handle the seed by its shell.
When should I turn on the grow light after germination?
Lighting should be provided as soon as the seedling emerges above the surface of the growing medium and opens its cotyledons (seed leaves).
Check Out Our Other Guides
If you are still setting up your grow tent or looking to improve your growing conditions, be sure to explore our other guides as well: